How to Install in 3 Easy Steps!
ALWAYS START WITH CLEAN, DRY & SMOOTH WALLS AND SURFACES


MEASURE the wall height and precut strips to match wall height, noting to add an extra 1 to 2 inches for trimming at both the top and bottom
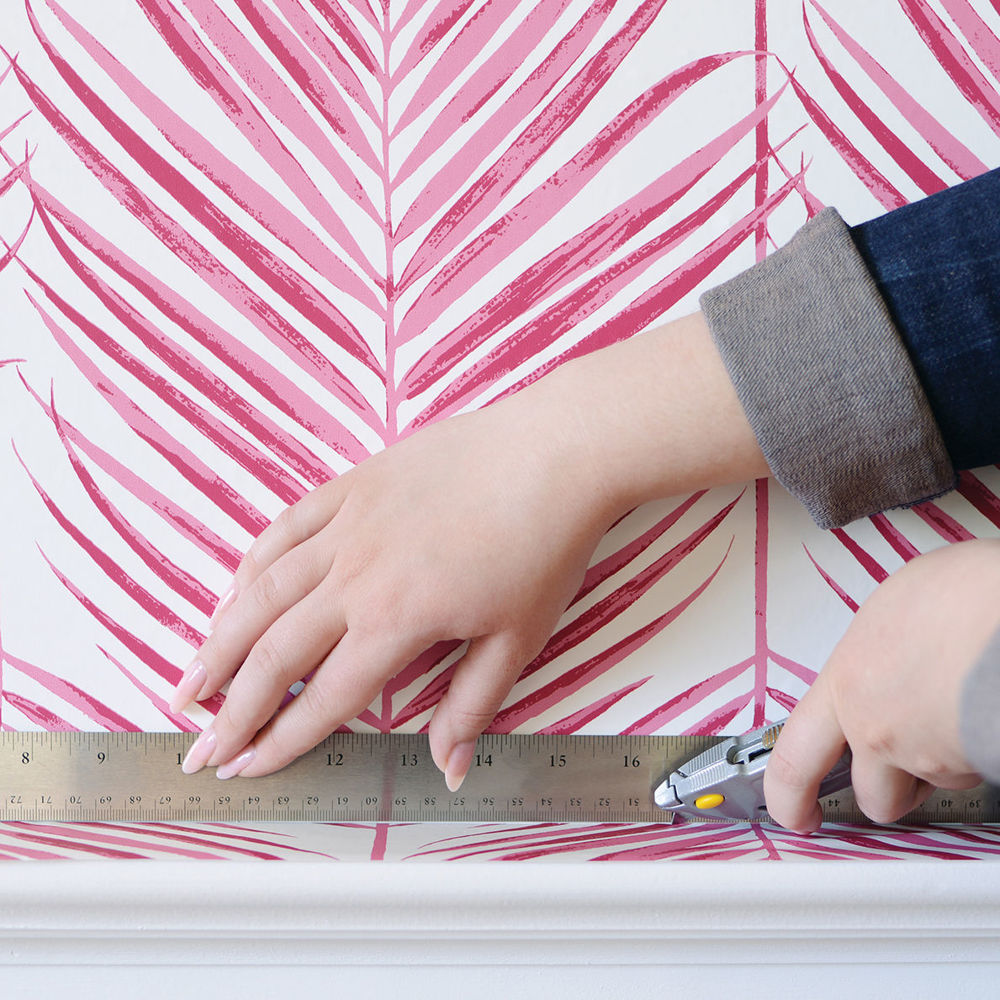
CUT and trim with a razor-sharp knife to help maintain a smooth, clean cut
Starting on the left side of your wall, measure out from the corner 20.5" and mark the wall lightly with a pencil
Use this mark for your LEVEL, drawing a straight vertical line
This line is th guide for your first strip so it is important that it is straight
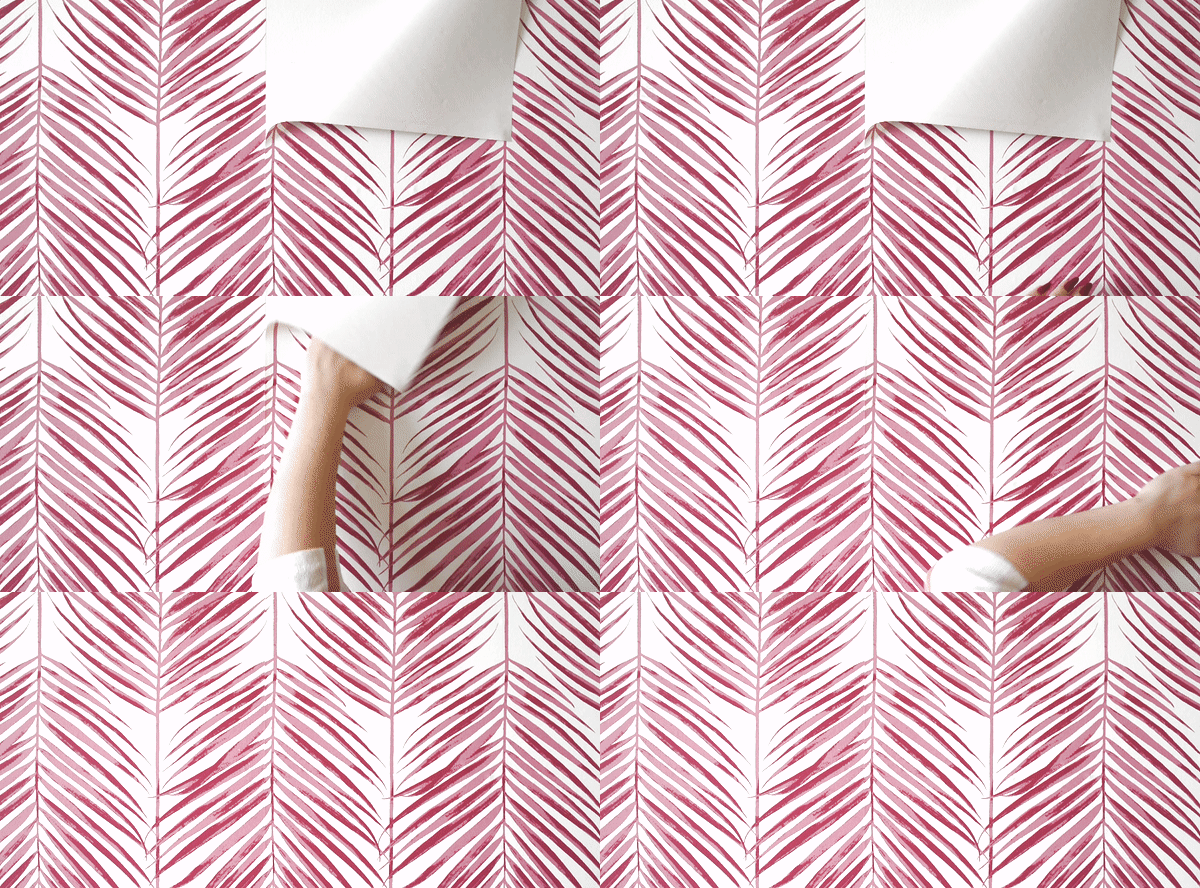
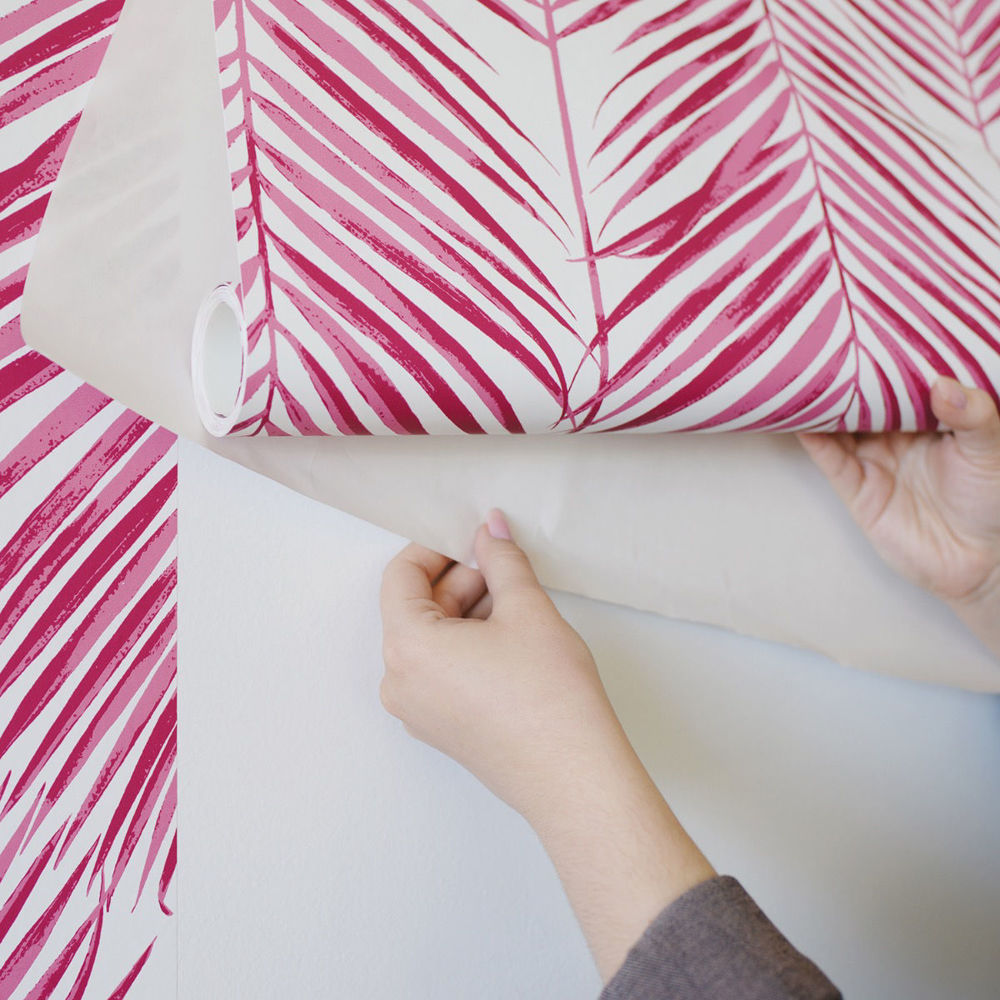
PEEL about 12" of the backing away from the paper

STICK the paper to the top of the wall, allowing that 1-2 extra inches to overlap the ceiling which will be trimmed off later
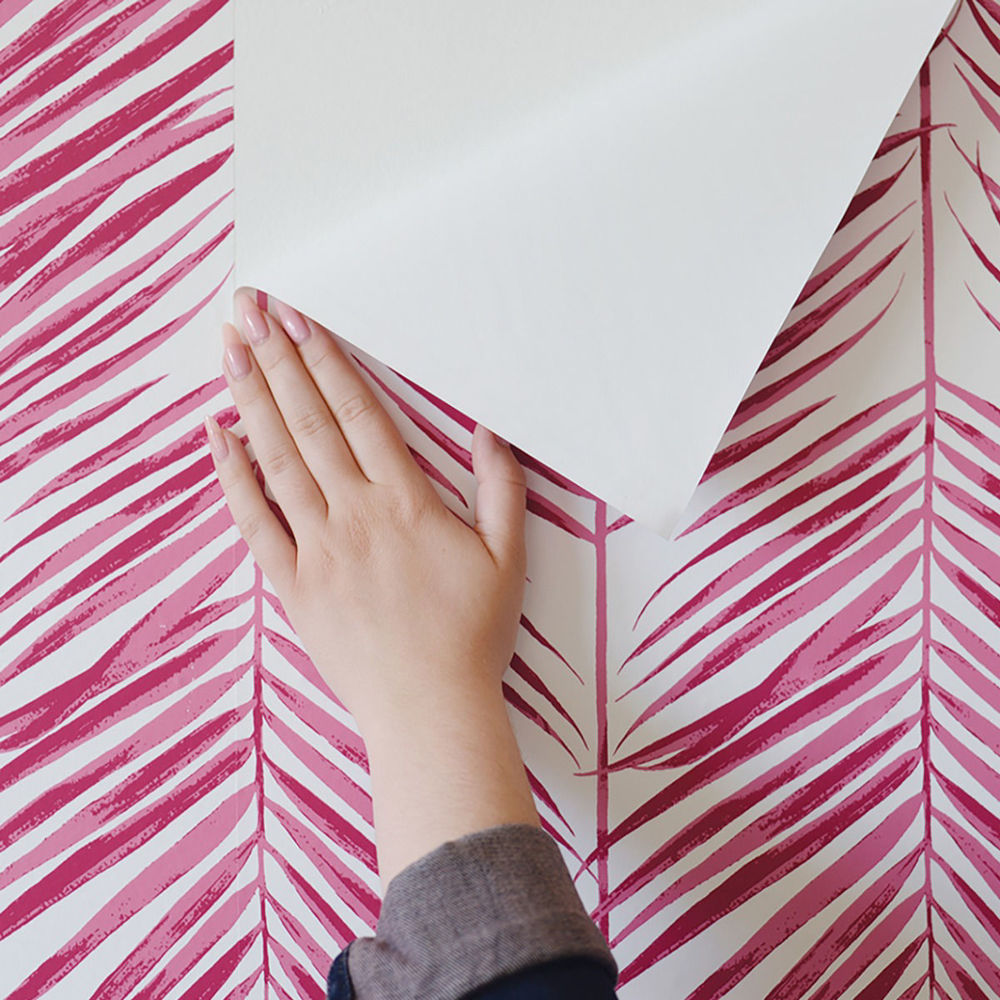
ALIGN the right side of the strip with your vertical line and lightly press the edge to the wall along the line. If needed you can reposition to ensure a vertical seam
Working from the top to the bottom, PULL the backing away from the paper as you evenly press the paper to the wall. Do not force the paper and be careful not to pull or stretch the product or the pattern will not align
To achieve the best results, we recommend having one person guide the paper at the top and along the seam, while the second holds the opposite edge away from the wall until the seams are aligned
We advise that you OVERLAP the joined wallpaper by 1/16 inch, this will avoid any shrinking that may occur due to varying room temperatures. Using the plastic smoother make your way down the strip

REPEAT this process, aligning your next strip to the right edge of your previous strip
TRIM off the excess material at the ceiling and baseboard with your utility or crafting knife
Once all steps have been completed, ENJOY your newly wallpapered space!